This is the step-by-step cherry bench Zoom meeting details.
We start by discussing the process and routing techniques needed for the project. Next is the sketch-up to be made of the project and the pattern transferred to the pattern fixture.
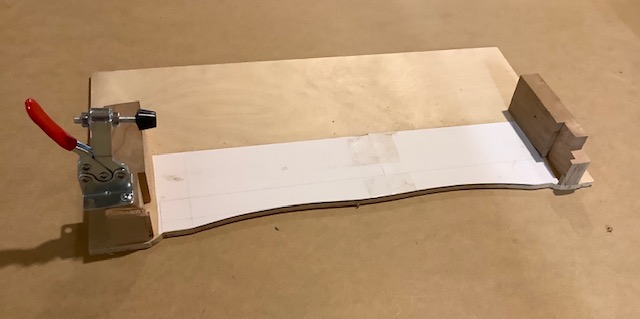
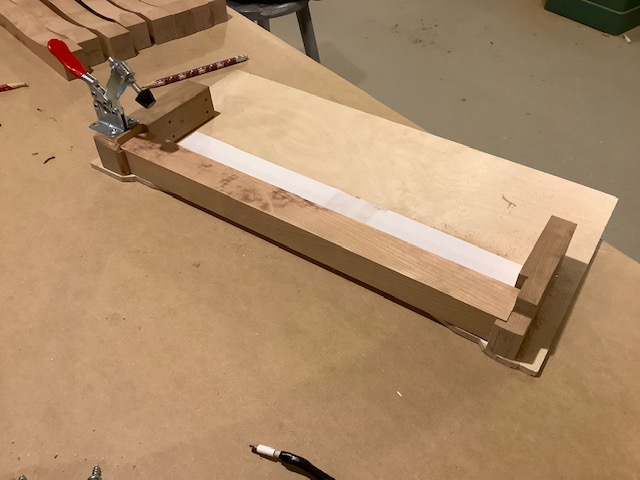
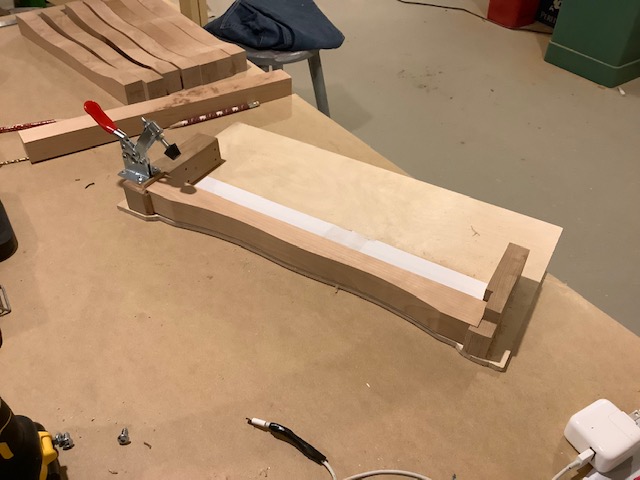
The Routing Fixture,
Looking at the pattern fixture we have the following features: 1) a way to position the blank, 2) a way to get on the blank and way to get off the blank for routing, 3) a toggle clamp used to hold the blank into the set position in routing fixture.
The Router Bit,
The pattern fixture cuts the bandsawed blanks with a double-bearing flush trim bit. This bit has a guard mounted in place using the top bearing.
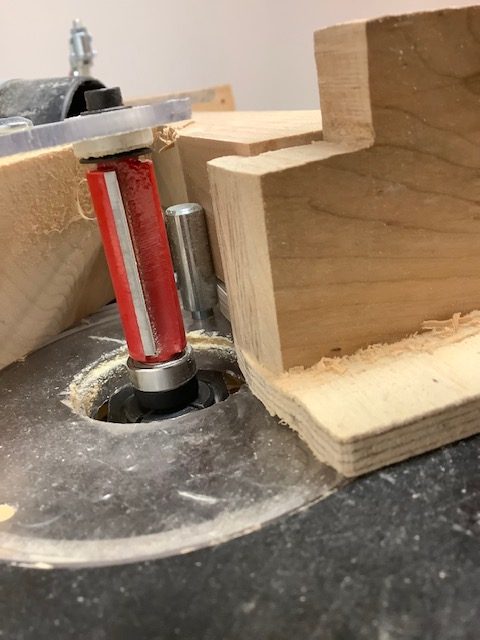
Here is a detailed view of the router bit ready with the guard in place. The fixture is aligned with the router bit to show the position of the set-up.
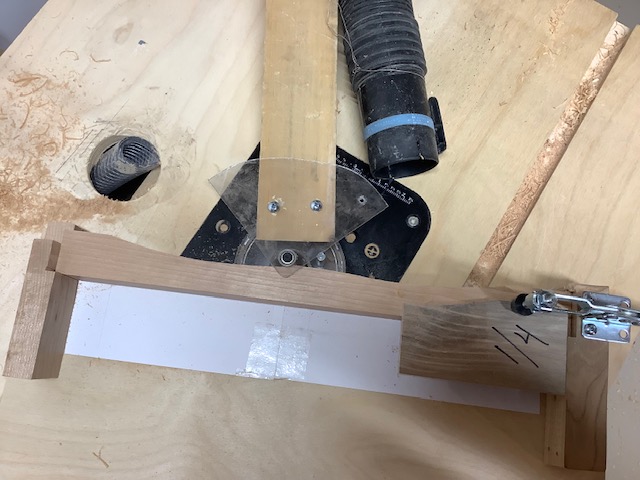
Here is an overview look at the router bit in action using the fixture and a table-mounted router with the vacuum n place.
Preparing the Blank
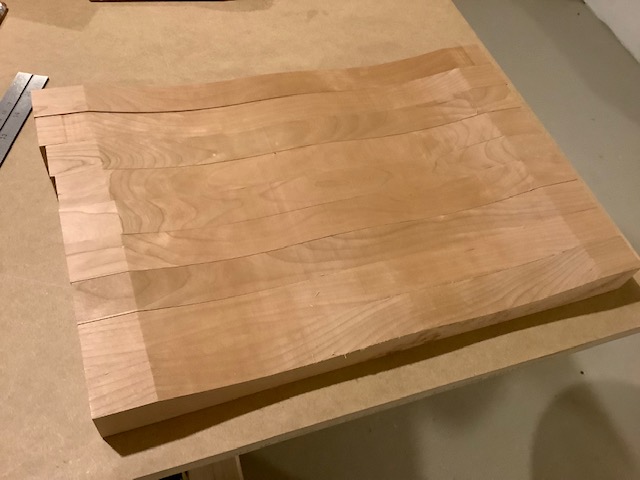
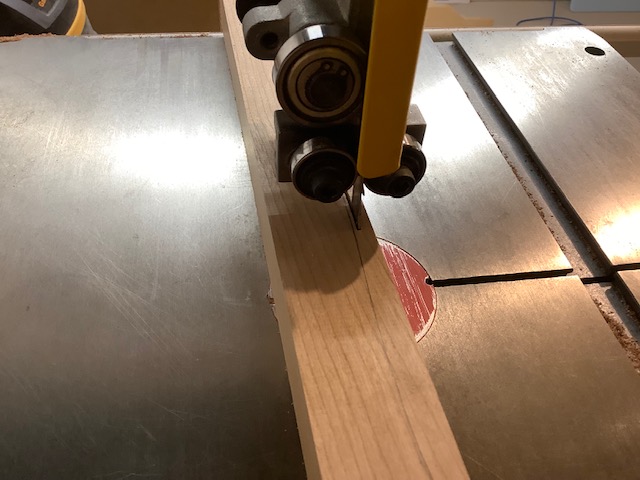
Next is getting the blank ready to be routed. This means taking off excess cherry so the flush trim router bit is cutting on the right side of the bit. You need to stay on the cutting side of the router bit at all times. Mount the blank.
Flip the fixture and draw a tracing line to ready the black to be bandsawed. Then follow the line and be sure to leave a small amount of material to be cut with the flush trim router bit.

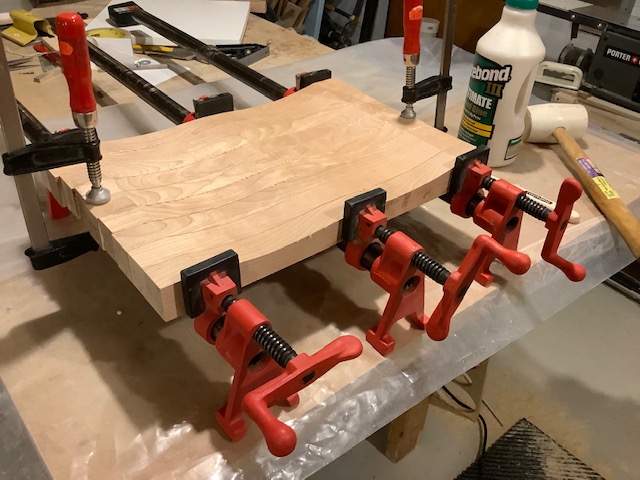
Gluing the Seat,
Next is to cut all the pieces and get them ready to be glued. We have the pieces ready to be glued and the gluing process.